
No-Code + AI to create a content library on steroids
Use Airtable, Zapier, OpenAI, and Webflow to create magic


The future is here. ChatGPT is a step function improvement in AI that can change our relationship with work. With its advanced natural language processing capabilities, ChatGPT has the potential to revolutionize a wide range of applications, such as chatbots, language translation, content creation, and broadly knowledge work.
I’ve already been using it for a variety of use cases in product management, writing, general problem solving, and honestly every part of my work. I will discuss more on the different applications of ChatGPT in next week’s edition.
Today, however, we are here to talk about how you can build a content library with AI and no-code tools.
AI-powered Content Library in No-Code
A content library can consist of any kind of content — blog articles, landing pages for different use cases and personas, marketing pages comparing your product with competitors, social media posts, pages focused on long tail keywords. This entire subset of articles can come under what’s known as Programmatic SEO. Earlier you would use different APIs to get this information, now you would use just one, which is OpenAI.
I’ll show you how to set this on auto-pilot using AI and no-code tools.
Get Started
To get started you will need to create accounts on the following platforms:
Airtable: A cloud-based database platform that allows you to organize, manage, and manipulate data in a variety of formats and layouts. You can use Airtable to structure your content library, storing individual pieces of content as different columns or fields.
OpenAI: A research institute that is at the forefront of AI development, with a particular focus on natural language processing. You can use OpenAI's API to access and utilize its advanced AI capabilities, such as summarizing or generating text.
Zapier: A platform that enables you to connect and automate different apps and services, allowing you to create "Zaps" that perform specific tasks or actions based on triggers or events. You can use Zapier to push data from Airtable to WebFlow, as well as format the text properly for markdown.
Webflow: A website design and development platform that provides a visual drag-and-drop interface for building and styling websites. You can use Webflow's CMS (content management system) to manage and publish your content library.
Alternatively, you could use other platforms or tools that serve similar functions, such as Google Sheets, Make, or any other CMS. The choice will depend on your specific needs, preferences, and budget.
Structure the data in Airtable
Once you’ve set up your accounts and platforms, the next step is to structure your Airtable. This will involve deciding on the types of content you want to include in your library and how to organize them. For example, you might want to keep individual pieces of content as different columns in Airtable, so that you can generate them separately. Or you could add everything in one field. It's up to you.
You should also set up a status field in Airtable that you can change to trigger the workflows of generating content and publishing the article. This will allow you to control and automate the process of adding new content to your library.
You can duplicate this Airtable template and tinker around.

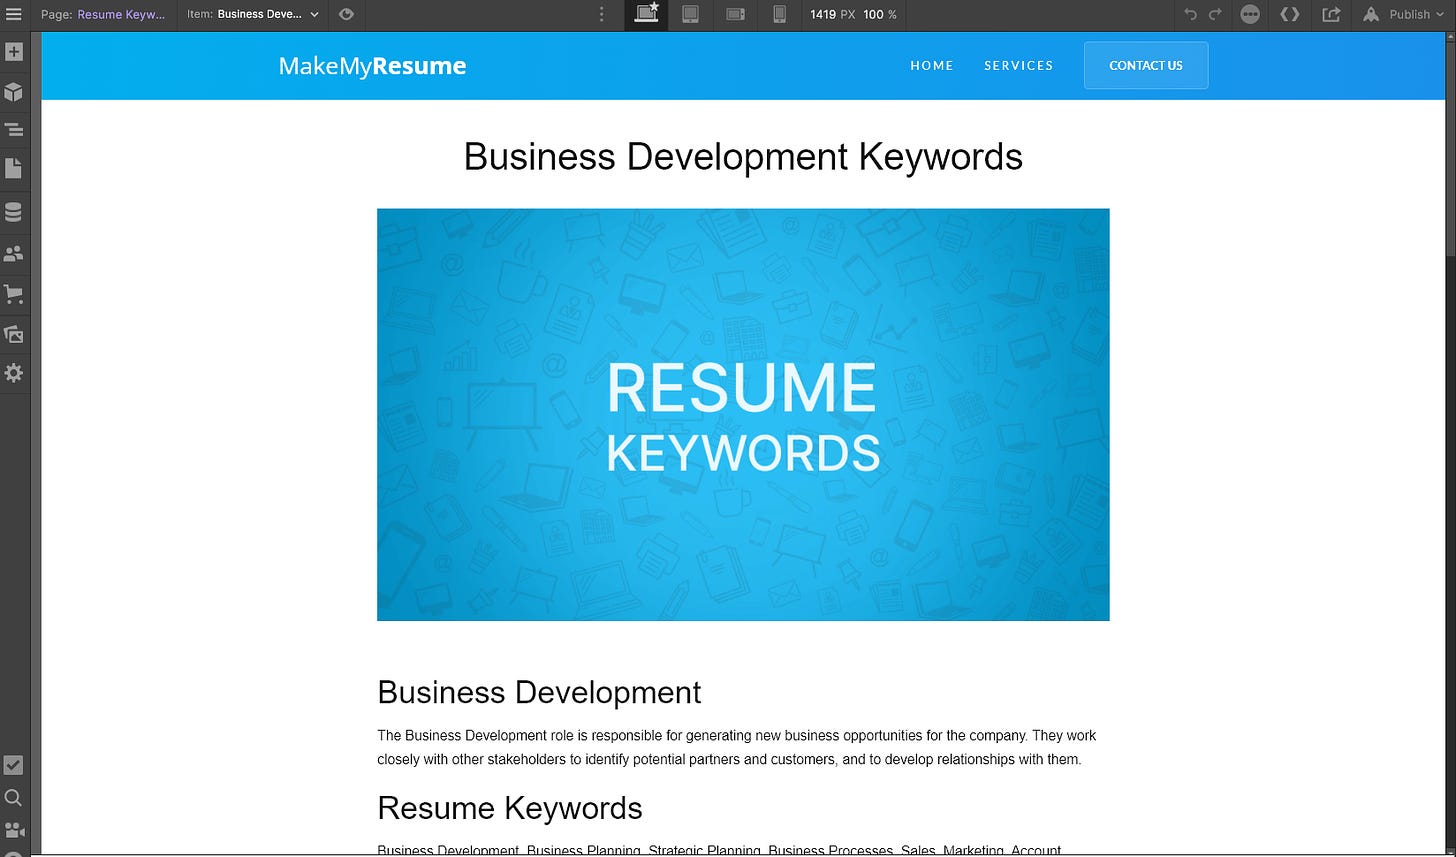
Set up the Webflow CMS
The next step is to set up your Webflow CMS collection.
This will first involve deciding the type of fields that you require. You should ensure that your CMS reflects the types of content you want to include, such as articles, blog posts, or social media updates.

Then designing the structure and layout of the collection page template by adding sections to the page like a header, footer, intro section, main content, CTA, etc. You should also consider creating different fields or sections for different types of information, such as headlines, body text, images, or tags.
You’ll need some Webflow knowledge to set this up. Suggest check out Webflow’s YouTube channel for more info.
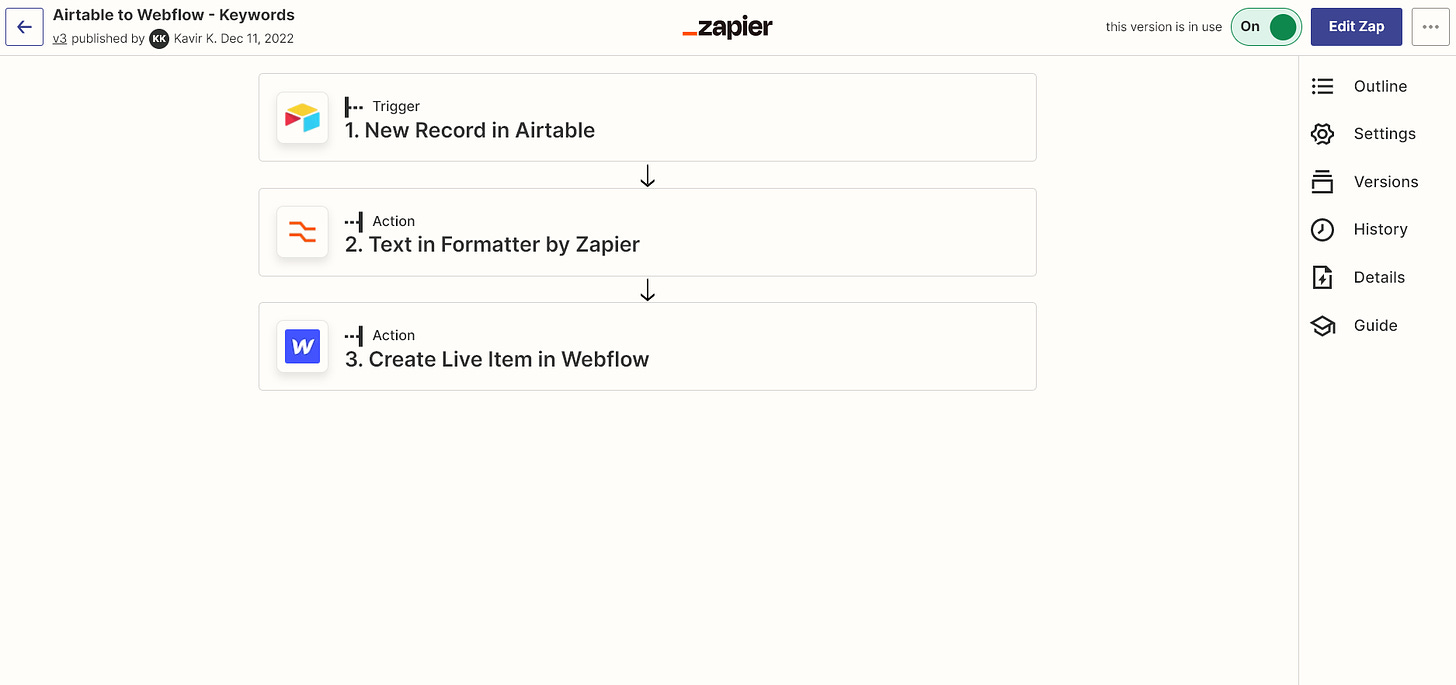
Enable Zapier connection
Once your Airtable and Webflow CMS are set up, you can enable the Zapier connection between the two platforms. This will allow you to transfer data from Airtable to Webflow and format it properly for markdown. When a new item is added to Airtable, Zapier will automatically create a corresponding entry in the Webflow CMS and add it to a collection on the website. You can either have the item directly published or staged for later.
You can copy the Zapier connection here and tinker around.
Create AI content
At this point, you are ready to generate AI content for your content library. There are two ways to do this:
Semi-automated
In this approach, you will need to manually execute the script code to extract relevant information from Airtable and pass it to OpenAI's API for processing and repopulating into Airtable and then finally to Webflow using Zapier.
Original script code
// Change this to the name of a table in your base
let table = base.getTable('Documents');

let openaiUrl = "https://api.openai.com/v1/engines/text-davinci-002/completions";

// Prompt the user to pick a record
// If this script is run from a button field, this will use the button's record instead.
let record = await input.recordAsync('Select a record to use', table);

if (record) {

    // Construct the body
    // Change the field name to match yours.
    let body = {
        "prompt": record.getCellValue("Text") + "\n\nTl;dr",
        "temperature": 0.7,
        "max_tokens": 60,
        "top_p": 1.0,
        "frequency_penalty": 0.0,
        "presence_penalty": 0.0
        }

    // Make a request to OpenAI API
    // Add your own API key in the place of Xses.
    let response = await fetch(openaiUrl, {
        method: 'POST',
        body: JSON.stringify(body),
        headers: {
            'Content-Type': 'application/json',
            'Authorization': 'Bearer XXXXXXXXXXXXXXXXXXXXXXXXXXXXX',
        },
    });
    let data = await response.json();

    // Comment this out if you don't want to see any outputs
    console.log(data)

    let str = /[^A-Za-z0-9](.+)/.exec(data.choices[0].text)[1];

    // Write to a cell, change field name to match your table.
    table.updateRecordAsync(record,
        {
            'TLDR': str
        });
}
H/t Tommi_holmgren from the Airtable community
I was initially doing it manually by pressing a button for each record. But a viewer on YouTube suggested a way in which, you could just trigger it once and it will run for all records. Here is the updated script code.
Updated script code
// Change this to the name of a table in your base

let table = base.getTable('Resume Keywords');

let view = table.getView('Generate Content');

let openaiUrl = "https://api.openai.com/v1/engines/text-davinci-003/completions";

let pageName = table.getField("Page Name");

console.log(pageName,"Page Name")

let results = await view.selectRecordsAsync({fields: table.fields});

console.log(results,"Results")

for (let record of results.records) {

    let pageName = record.getCellValue("Page Name");

    console.log(pageName,"Page Name 1")

    // Construct the body

    // Change the field name to match yours.

    let keywords = {

        "prompt": "List down 10 " + pageName + "\n\nskill keywords separated by commas",

        // "prompt": "List down 10 " + record.("Page Name") + "\n\nskill keywords separated by commas",

        "temperature": 0.7,

        "max_tokens": 512,

        "top_p": 1.0,

        "frequency_penalty": 0.0,

        "presence_penalty": 0.0

        }

        console.log(pageName,"Page Name")

    // Make a request to OpenAI API

    // Add your own API key in the place of Xses.

    let response = await fetch(openaiUrl, {

        method: 'POST',

        body: JSON.stringify(keywords),

        headers: {

            'Content-Type': 'application/json',

            'Authorization': 'Bearer xx',

        },

    });

    let keyData = await response.json();

    // Comment this out if you don't want to see any outputs

    console.log(keyData)

    let str = data.choices[0].text.trim();


    // Write to a cell, change field name to match your table.

await table.updateRecordAsync(record,{

        'Resume Keywords': str,});

}
Fully automated
In this approach, you will use script code to fully automate the process of generating and publishing content. This will require you to upgrade to the Pro Plan of Airtable, which allows you to use the "Run as script" function. You can use the following script code to set up your fully automated workflow:
Script code for "Run as script"
// Change this to the name of a table in your base

let table = base.getTable('Resume Keywords');

let view = table.getView('Generate Content');

let openaiUrl = "https://api.openai.com/v1/engines/text-davinci-003/completions";

let inputConfig = input.config();

let pageName = table.getField("Page Name");

console.log(pageName,"Page Name")

let results = await view.selectRecordsAsync({fields: table.fields});

console.log(results,"Results")

for (let record of results.records) {

    let pageName = record.getCellValue("Page Name");

    console.log(pageName,"Page Name 1")

    // Construct the body

    // Change the field name to match yours.

    let keywords = {

        "prompt": "List down 10 " + pageName + "\n\nskill keywords separated by commas",

        // "prompt": "List down 10 " + record.("Page Name") + "\n\nskill keywords separated by commas",

        "temperature": 0.7,

        "max_tokens": 512,

        "top_p": 1.0,

        "frequency_penalty": 0.0,

        "presence_penalty": 0.0

        }

        console.log(pageName,"Page Name")

    // Make a request to OpenAI API

    // Add your own API key in the place of Xses.

    let response = await fetch(openaiUrl, {

        method: 'POST',

        body: JSON.stringify(keywords),

        headers: {

            'Content-Type': 'application/json',

            'Authorization': 'Bearer xx',

        },

    });

    let keyData = await response.json();

    // Comment this out if you don't want to see any outputs

    console.log(keyData)

   let str = data.choices[0].text.trim();

    // Write to a cell, change field name to match your table.

await table.updateRecordAsync(record,{

        'Resume Keywords': str,});

}
Once you have set up your workflows and scripts, you can test them out to see if they are working correctly. If everything is functioning as expected, you should be able to create a fully functional content library with no-code and AI.
Final Thoughts
In conclusion, building a content library with no-code and AI is a straightforward and efficient way to generate high-quality, relevant, and engaging content for your website or platform.
By leveraging the power of platforms like Airtable, OpenAI, Zapier, and Webflow, you can create a content library that is scalable, flexible, and dynamic.
Don't forget to check out the YouTube video that explains everything that was discussed here for more detailed instructions and examples.
📘 Read of the week: The power of defaults - Julian Lehr (21 min)
That's it for today, thanks for reading!
Share this newsletter with someone who might enjoy it!
Give feedback and vote on the next topic here.
Talk to you soon!
— Kavir